Wednesday, May 6, 2020

When life is stormy, create a safe place to find peace

With the craziness of life right now, I find myself searching for places to get away to a little peace and quiet. With kids home doing online schooling, I have appreciated even more, a quiet corner to read or a shady spot to take a power nap in the back yard. Here are a few of the quiet spaces I’ve created in my home and yard. Hopefully they will give you inspiration to create your own places or just a chance to reflect and appreciate the spaces you already have. The Front Porch
Aside from being my favorite spot for first day of school pictures of my kids, or, as in the photo above, saying goodbye to my oldest son Jake as he moved to Maize, KS yesterday, my front porch is a shady spot to read, take a break from gardening, or visit with my parents social distancing style (they stand at the edge the porch while I talk to them from the door. Sad times.). My porch is an extension of my home. In the summer it’s a shady, covered garden. In the fall, it plays host to an assortment or gourds and pumpkins. During the winter, it’s shelter from a snow storm. I have appreciated this space in more the past month as a place to save to neighbors, listen to music, or read a good book. This spring, I spray painted the Adirondack chair my son made as a school project. I added copper window boxes, with my red geraniums, a nod to our time living in Michigan and visiting the Grand Hotel on Mackinaw Island. I love having a hanging basket of flowers and planters during warm months. My porch is also the place I’m most likely to spot a hummingbird. The Firepit
Two summers ago, we took down our swing set and donated it to little cousins. We turned that space into a firepit. We have loved making s’mores and roasting hotdogs while my husband sings and plays the guitar. This little spot is fantastic for a group or as a get away spot. The Pergola
This was a pergola kit from Costco that we built a few summers ago. It was not easy and very time consuming. The price was right and we have enjoyed having a place in the yard protected from rain, much like the front porch. We have a hammock and comfy seating. It’s quiet and peaceful. I still have plans to add an outdoor chandelier and solar powered light strings, I’ll post those at a later date. The Balcony
This balcony faces East and is accessed from the master bedroom. It was one of the reasons we originally bought the house, the beautiful Mountain View’s and the luxury of a deck from the bedroom. When we did our first remodel, we redid the deck and added a staircase for fire safety and access to the backyard. My daughter loves it in the early afternoon for a sun deck. I prefer shady afternoons for reading on the double chaise lounges from a Pottery Barn, though I got it discounted by half at Down East Home. This a fun place for summer night sleeping too. I have only shown spots in my yard, but any quiet corner will do. What are your favorite spots to relax and take a break? Be sure to have a comfy place to sit, something to put your feet up on, a table for your drink of choice and possibly a snack and a throw pillow and blanket if it’s chilly outside. It’s so important to have peace of mind when the world around you is unsure. May you find some semblance of peace as we navigate through these crazy times.

Pandemic Project Reboot

The global pandemic has spurred a return to my design blog, Fontaine de Bienvenue Home. I have felt extremely blessed to have a nice home to isolate in with my family, to say safe and smart. I am very aware that is not the case for everyone and my heart goes out to those who have lost loved ones or are in trying circumstances with job losses or tough living situations. So much prolonged time at home does tend to make me notice flaws in my home or areas of neglect in my yard. This has resulted in home improvement projects that not only take my mind off of the current circumstances, but is almost therapeutic. Taking up a project that can be completed in a few days with obvious results feels like an accomplishment when so much else has been put on hold. Here’s an example of one such project I’ve tackled during the pandemic. About 10 years ago, we dug our two window wells in the basement and created a walkout basement. The landscaping turned out beautifully, but the foundation was covered in black, I’m assuming some type of waterproofing, and was unsightly. Since it was on the side of our property, it was easy to overlook. With more time on our hands to complete projects, we decided to paint the foundation. Here is a before photo. If you look closely, you can see the black on the foundation.
My husband And I purchased what we thought would be a “ cement gray” but it turned out to be too dark and blue gray to work. Unfortunately, we had painted the whole thing before deciding it would have to be repainted. That decision was also aided by the neighbors 8 year old daughter, who upon seeing the results said, “Maybe you should match it to your house color.” Our home is painted Copley Gray by Benjamin Moore, though I’m sure it has faded since it was painted about 10 years ago. We decided to paint the foundation Rockport Gray by Benjamin Moore. We restrained the trellis in a Slate stain from Home Depot. I decided to jazz up the door color using an almost black blue color that I really love, Winter Way by Behr, in a satin finish. Here’s the results with a photo of me thrilled with the results.
Hang in there fellow DIYers. Stay positive, look for ways to stay busy and to help others. Our world may change post pandemic, but the love of home and family is a constant, unchangeable thing. Find ways to improve your life by putting some love into your home.

Tuesday, April 8, 2014

Random Pics

I realized when I added the Green Chili Turkey burgers recipe that I have not added very many pictures of our home now that the remodeling has been completed (for nearly a year). Anyhow, the following photos where all taken this past fall, with the exception of the exterior pictures which were taken in early March. There are several curtain projects: 1)my bedroom (striped silk curtains 2) my daughters bedroom (white islet with green ribbon border and 3) a bay window in our family room area (yellow and red toile backed in red ticking stripe). The bench covered in a white background with red flowers was a quick project. The fireplace photos are taken in my newly remodeled bedroom that I will admit--I absolutely love!!! The table setting is from this past Thanksgiving Holiday. As I'm sure you'll notice, my projects are far from perfect, but there is some sense of pride and accomplishment in trying something on your own. I know that my house and decorating style have their flaws, but I love that they're mine!

Get Ready for BBQ Season!

I wanted to share a great recipe from Grace Ivory Rock and Amy Henriksen Foulger's "Keeping Up Cookbook." I will print the recipe as is from the book, but please note my adaptions and changes marked with an (*)! This is a delicious change if you like to grill burgers. Green Chili Turkey Burgers with Avocado Mayo: Ingredients-- 1 lb. ground turkey (*could also use ground chicken) 1/2 cup salsa verde 4 kaiser rolls (*I used 6 ciabatta rolls with Chef Tom's Garlic butter spread on and then broiled on med. until slightly toasted) sliced pepper jack cheese sliced tomatoes chopped cilantro (*I tore of the leaves to use like 'mini lettuce') Combine turkey and salsa verde (*may want to use an egg to keep mixture from crumbling while grilling). I also added seasonings like Mexican seasoning or a little salt, pepper, cayenne, onion powder and garlic salt Form into 4 large patties (*I made 6 smaller patties). Cook over medium heat in a non-stick skillet or grill on the bbq (oil grates generously to avoid sticking) until cooked through. Serve with avocado mayo and listed fixings. Avocado Mayo-- 1 avocado pitted (*I used two small and added a packet of guacamole mix) 1/2 cup mayo, regular or light 1 clove garlic, minced (*I didn't use the garlic or salt since I mixed in the guacamole mix). 1/4 tsp. salt (*See note above) Scoop flesh from avocado and mash with a fork. Add guacamole mix and mayo (or garlic and salt). Press plastic wrap over mixture's surface until ready to use. Bon Appetite!

Saturday, September 14, 2013

Remodel Project #2 Update


The four pictures above where the pre-remodel project. 
One of the 4 upstairs bedrooms was small and had a wall and a half of oak bookshelves.  We kept three of the book shelves, painted them white and added crown molding.  This room is for our 7 year old soon who loves to display Legos, so you can never have too many shelves.  We also added beadboard and new carpet (not shown).  One of the other two bookshelves holds our ski's in the garage storage room, and the other sits in the upstairs landing (first picture).   

 One thing I can say, I am so happy the remodel is behind me.  The above picture shows where the addition is, over the existing third car garage stall.  We also added a boat/RV structure to the left of garage.
 This addition gave us a sitting room, huge new closet and boat and garage storage.
 
The project started in October, right around Halloween.  The workers where even at the house on Thanksgiving as we prepared our dinner.  My daughter Madeline and all time best helper, helped me make pies.
 

I bought the leaf shape cutter at William-Sonoma several years ago and absolutely love it for making fall pies.  I use Marie Calendar frozen crusts, then cut leaves out of the top crust.  we added some red and yellow food coloring to the unrolled pie crust to add a little fall color.  I also like to use cookie cutters for other times of the year, i.e. hearts at Valentine's and stars for July 4th.
This picture shows the boat garage as its going up.  One of the pains of remodeling is that you have to take down to put up.  There are always unforeseen problems and added expenses, like our situation where half of the stucco on the side of the house had to be redone.  The stone also had to be taken off and then redone.  Our project was a little tricky because they removed our cracked driveway plus all of the cement inside the garage.  We had hoped to avoid that, but the cement had settled and was on top of several feet of sand.  Because of delays, they didn't actually poor the driveway cement until January, on the coldest few days on record.  Unfortunately, I am not very happy with the finished product.

 All of the pumpkins (except the white and red ones) and squash were from our garden.  They lasted so long, that I finally had to throw them away for Christmas.  This year I haven't had such good luck with pumpkins, I only have one and it's still green.  For me, it was important to keep part of my life "normal" during the remodel.  I still decorated for the holidays even though many friends advised me not to.  There is so much chaos, it was nice to maintain some semblance of our usual life.
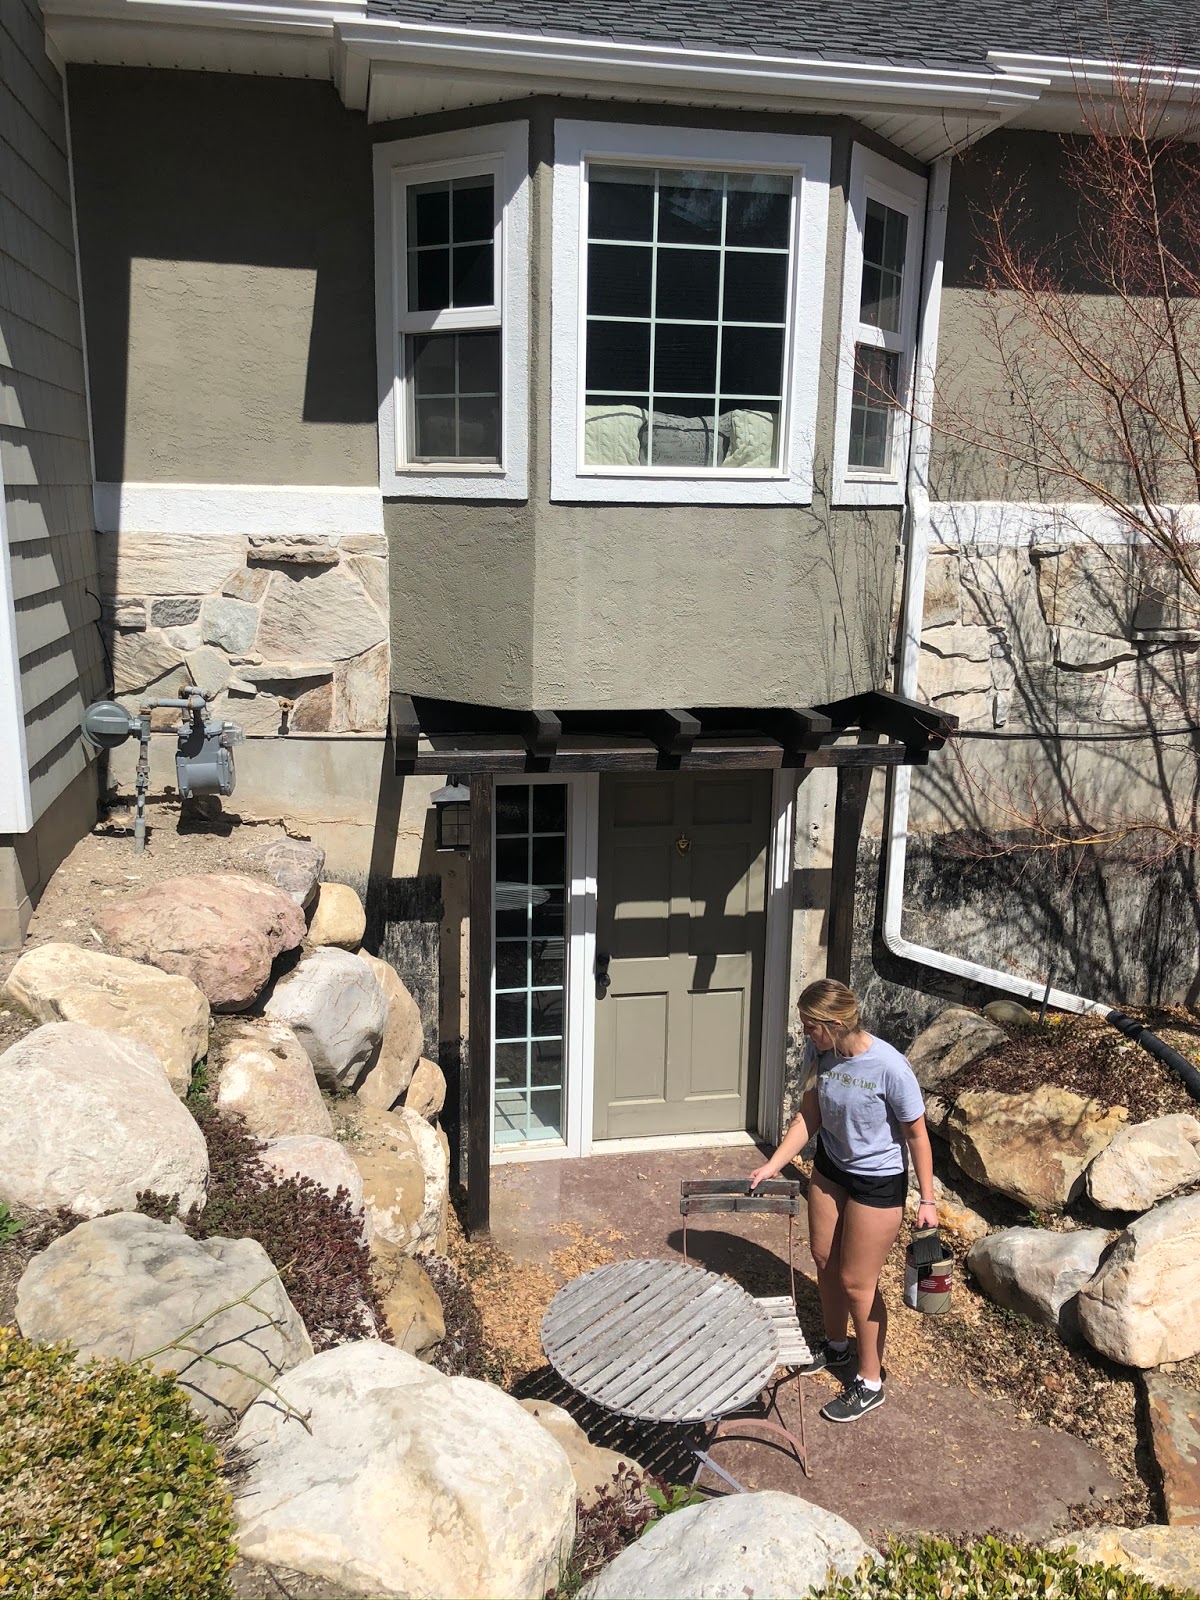
 Rear view of the remodel.  The second level is an extension of our bedroom, the first floor is a garage storage room.  We left the stucco and stone in that room to save on the expense of demolition.  I am grateful we did too, because our budget ran over by about $35,000.00.  So stressful!!
 Cheesy me presenting my pretty good looking turkey amid all the construction chaos.
 These next pictures are the before pictures, before demolition that is.  The above and below pictures show my old closet that has since become part of our master bathroom.
 This is a before photo of the bathroom.  This tub became a shower.  We kept the same paint color, Benjamin Moore's Shenandoah Taupe.


 This is a view from our bedroom into the bath/closet area.  We kept the same mantel, but painted it white and replaced the marble with brick.  There are openings on both sides of the fireplace into the addition, a sitting room with a double side fireplace.  My master bedroom is heaven!!  I feel very lucky to have it and grateful to my husband for putting up with me when he doesn't always see my vision.


 Demolition of the shower begins.  The boards (below) were put up to keep some of the cold at bay, since this part of construction happened the day after Thanksgiving.  Since this remodel mainly took place in our bedroom, we initially took over our son's room in the basement.  When the project ran much longer than we had anticipated, he got his room back and we moved into our daughter's bedroom upstairs.  That was one of the difficulties of remodeling--the displacement for the kids.  Thankfully this remodel did not prevent us from using the kitchen.  I think kitchens are the hardest remodels to live through, only seconded by bathrooms.
That's all for now.  I need to challenge my husband to a late night game of Scrabble.